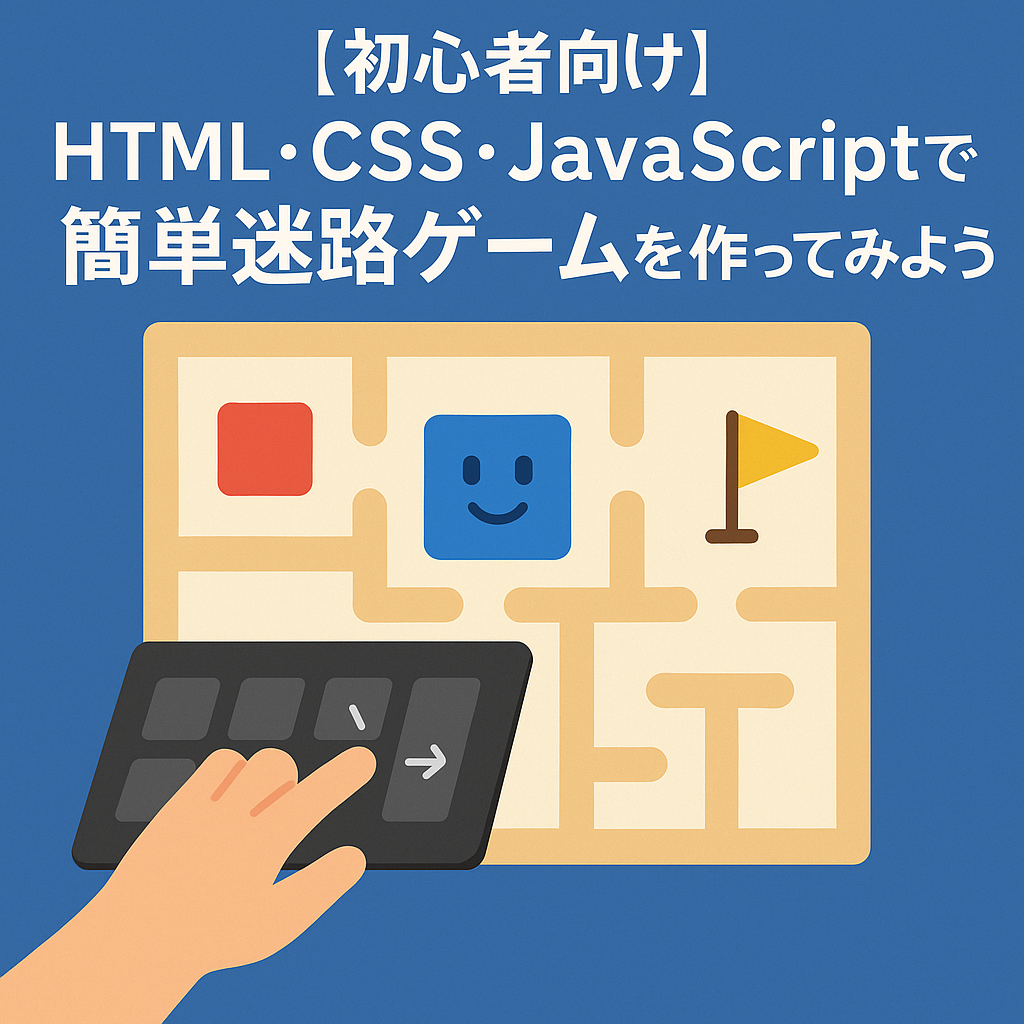
はじめに|ステップアップして「動くゲーム」を作ろう!
前回のランニングゲームは楽しめましたか?
今回はその応用として、2Dの迷路を移動し、敵を避けてゴールを目指すゲームを作ってみましょう!
このゲームを通じて、以下のようなスキルが身につきます:
- HTML/CSS/JS連携
- キーボード操作イベント
- 当たり判定(コリジョン判定)
- 敵の自動移動
- ステージクリア処理
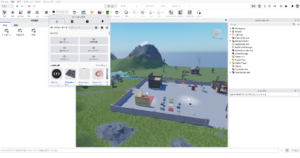
完成イメージ
動画ではとびとびになっているけど、、、
しっかり1ブロックずつ動いてくれます!
壁は自由に配置してみよう!
ステップ①|HTMLを作成しよう
まずはゲームの「枠組み」をHTMLで作ります。
<!DOCTYPE html>
<html lang="ja">
<head>
  <meta charset="UTF-8">
  <title>迷路ゲーム</title>
  <link rel="stylesheet" href="style.css">
</head>
<body>
<div id="maze">
  <div id="player"></div>
  <div id="goal"></div>

  <!-- 壁パーツ -->
  <div class="wall" style="top: -10px; left: 0px; width: 400px; height: 10px;"></div>
  <div class="wall" style="top: -10px; left: -10px; width: 10px; height: 410px;"></div>
  <div class="wall" style="top: 400px; left: -10px; width: 410px; height: 10px;"></div>
  <div class="wall" style="top: -10px; left: 400px; width: 10px; height: 420px;"></div>

  <!-- 内部の障害物 -->
  <div class="wall" style="top: 100px; left: 120px; width: 10px; height: 150px;"></div>
  <div class="wall" style="top: 100px; left: 200px; width: 100px; height: 10px;"></div>
  <!-- 他にも追加可能 -->

</div>
<div id="message"></div>

<script src="script.js"></script>
</body>
</html>
ステップ②|CSSで見た目を整えよう
次に、ゲームの画面デザインを整えます。
style.cssbody {
font-family: sans-serif;
text-align: center;
}
#maze {
position: relative;
width: 400px;
height: 400px;
background: #eef;
margin: 20px auto;
border: 3px solid #333;
}
#player {
width: 20px;
height: 20px;
background: blue;
position: absolute;
top: 10px;
left: 10px;
}
#goal {
width: 30px;
height: 30px;
background: gold;
position: absolute;
bottom: 10px;
right: 10px;
}
.wall {
background: #333;
position: absolute;
}
#message {
font-size: 24px;
margin-top: 20px;
color: green;
}
ステップ③|JavaScriptで動きをつけよう
プレイヤーを矢印キーで動かし、ゴールや敵との当たり判定を実装します。
script.jsconst player = document.getElementById("player");
const goal = document.getElementById("goal");
const walls = document.querySelectorAll(".wall");
const message = document.getElementById("message");
let posX = 10;
let posY = 10;
function movePlayer(dx, dy) {
const newX = posX + dx;
const newY = posY + dy;
player.style.left = newX + "px";
player.style.top = newY + "px";
// 衝突チェック
if (checkCollision()) {
// 壁にぶつかったら戻す
player.style.left = posX + "px";
player.style.top = posY + "px";
return;
}
posX = newX;
posY = newY;
// ゴール判定
if (isOverlap(player, goal)) {
message.textContent = "ゴールクリア!おめでとう!";
document.removeEventListener("keydown", handleKey);
}
}
function isOverlap(a, b) {
const rectA = a.getBoundingClientRect();
const rectB = b.getBoundingClientRect();
return !(
rectA.right <= rectB.left ||
rectA.left >= rectB.right ||
rectA.bottom <= rectB.top ||
rectA.top >= rectB.bottom
);
}
function checkCollision() {
for (let wall of walls) {
if (isOverlap(player, wall)) {
return true;
}
}
return false;
}
function handleKey(e) {
switch (e.key) {
case "ArrowUp": movePlayer(0, -10); break;
case "ArrowDown": movePlayer(0, 10); break;
case "ArrowLeft": movePlayer(-10, 0); break;
case "ArrowRight": movePlayer(10, 0); break;
}
}
document.addEventListener("keydown", handleKey);
🔸JavaScriptの解説
🔹 1. 最初の準備(HTMLの要素を取得)
const player = document.getElementById("player");
const goal = document.getElementById("goal");
const walls = document.querySelectorAll(".wall");
const message = document.getElementById("message");
📝 getElementByIdやquerySelectorAllを使って、HTML内の各パーツをJavaScriptで使えるようにしています。
player:動かすキャラgoal:ゴール地点walls:すべての壁message:クリアしたときのメッセージ表示エリア
🔹 2. プレイヤーの位置を記録
let posX = 10;
let posY = 10;
📝 プレイヤーの現在位置を「x座標」「y座標」で記録します。
🔹 3. プレイヤーを動かす関数
function movePlayer(dx, dy) {
    const newX = posX + dx;
    const newY = posY + dy;
🟢 dxとdyは「移動量」です。
たとえば ArrowRightキーを押したときはdx = 10、dy = 0になります。
player.style.left = newX + "px";
player.style.top = newY + "px";
📦 これでCSSの位置が変わり、プレイヤーが見た目に動きます!
🔹 4. 壁にぶつかったかをチェック
if (checkCollision()) {
        player.style.left = posX + "px";
        player.style.top = posY + "px";
        return;
}
🚫 壁にぶつかったら元の位置に戻すことで、壁をすり抜けないようにしています。
🔹 5. ゴールしたかを判定
if (isOverlap(player, goal)) {
        message.textContent = "ゴールクリア!おめでとう!";
        document.removeEventListener("keydown", handleKey);
}
🎯 ゴールに重なったら、「おめでとうメッセージ」を表示して、キーボード操作を止めます。
🔹 6. 「重なり」を調べる関数
function isOverlap(a, b) {
    const rectA = a.getBoundingClientRect();
    const rectB = b.getBoundingClientRect();

    return !(
        rectA.right <= rectB.left ||
        rectA.left >= rectB.right ||
        rectA.bottom <= rectB.top ||
        rectA.top >= rectB.bottom
    );
}
📐 プレイヤーと壁(またはゴール)の位置情報を比べて、「ぶつかってるかどうか」を判断します。
🔹 7. すべての壁と衝突チェック
function checkCollision() {
    for (let wall of walls) {
        if (isOverlap(player, wall)) {
            return true;
        }
    }
    return false;
}
🧱 すべての壁を1つずつ調べて、1つでも当たっていたら true を返します。
🔹 8. キーボードで操作する
function handleKey(e) {
    switch (e.key) {
        case "ArrowUp": movePlayer(0, -10); break;
        case "ArrowDown": movePlayer(0, 10); break;
        case "ArrowLeft": movePlayer(-10, 0); break;
        case "ArrowRight": movePlayer(10, 0); break;
    }
}

document.addEventListener("keydown", handleKey);
🕹️ 矢印キーを押すと、対応する方向にmovePlayer()が呼ばれて、プレイヤーが動きます!
ステップ④|工夫ポイント(応用)
- 壁にぶつかれないようにする:
wallとの当たり判定を追加。 - タイマーをつけて制限時間つきにする:
setInterval()を活用。(前回やりましたね!) - スマホ対応:
touchstartイベントでタップ操作対応。
まとめ
このゲーム制作では、以下のようなスキルが身につきました:
✅ JavaScriptでキャラを動かす
✅ アニメーションの応用
✅ 当たり判定のロジック
✅ 画面の構成とCSSレイアウト
初心者でも「動く作品」が作れると、自信と楽しさがグッと広がります!

コメント